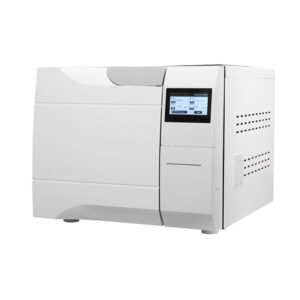

Correct Usage Methods For Dental Sterilizer
Cleaning dental sterilizer is crucial for ensuring patient safety, preventing cross-contamination, and maintaining equipment performance. It meets hygiene standards and regulatory requirements while enhancing treatment outcomes and patient trust. Regular cleaning extends the sterilizer’s lifespan, prevents contamination from affecting treatment quality, and ensures that all tools are thoroughly disinfected before each use, safeguarding the overall hygiene and safety of the dental practice.
Here are the simple yet important steps for cleaning a dental sterilizer:
STEP1 : Initial disposal of sterilized items
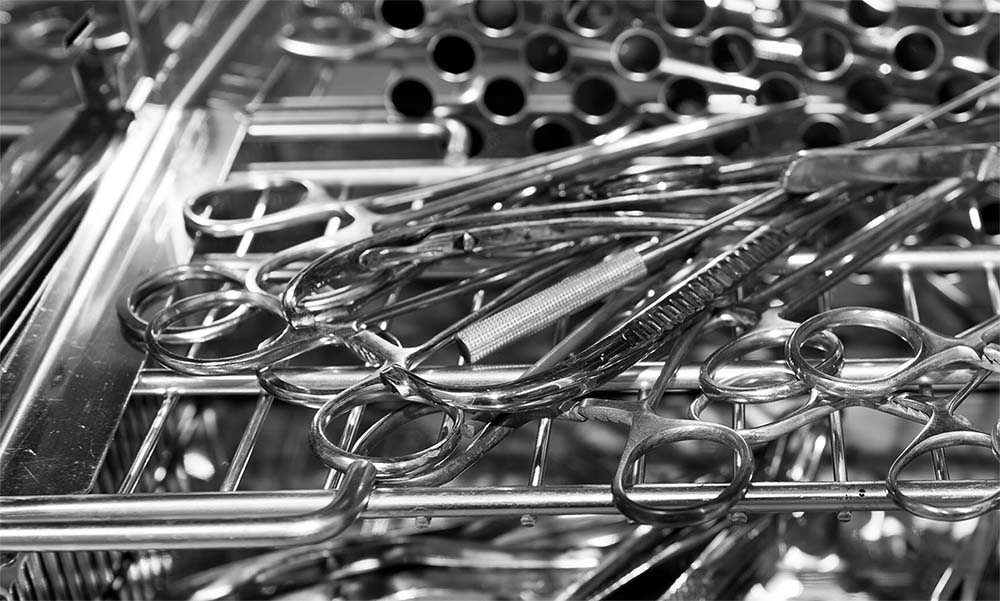
Medical items exposed to pathogenic microorganisms, such as devices, sheets and clothes, should be chemically disinfected first and then routinely cleaned. Especially for those from infectious wards, strict procedures must be followed. After thorough disinfection, they are to be cleaned and disinfected once more.
During routine cleaning, soak and scrub with detergent to remove dirt, then rinse with running water. Instruments with special structures and other items should be opened or disassembled for comprehensive cleaning.
The washed items are dried, classified and packaged according to clinical needs to avoid recontamination. The containers and transport tools for items before and after decontamination should be clearly distinguished and marked to prevent cross-infection.
STEP2: The packaging and containers for disinfected items must be appropriate
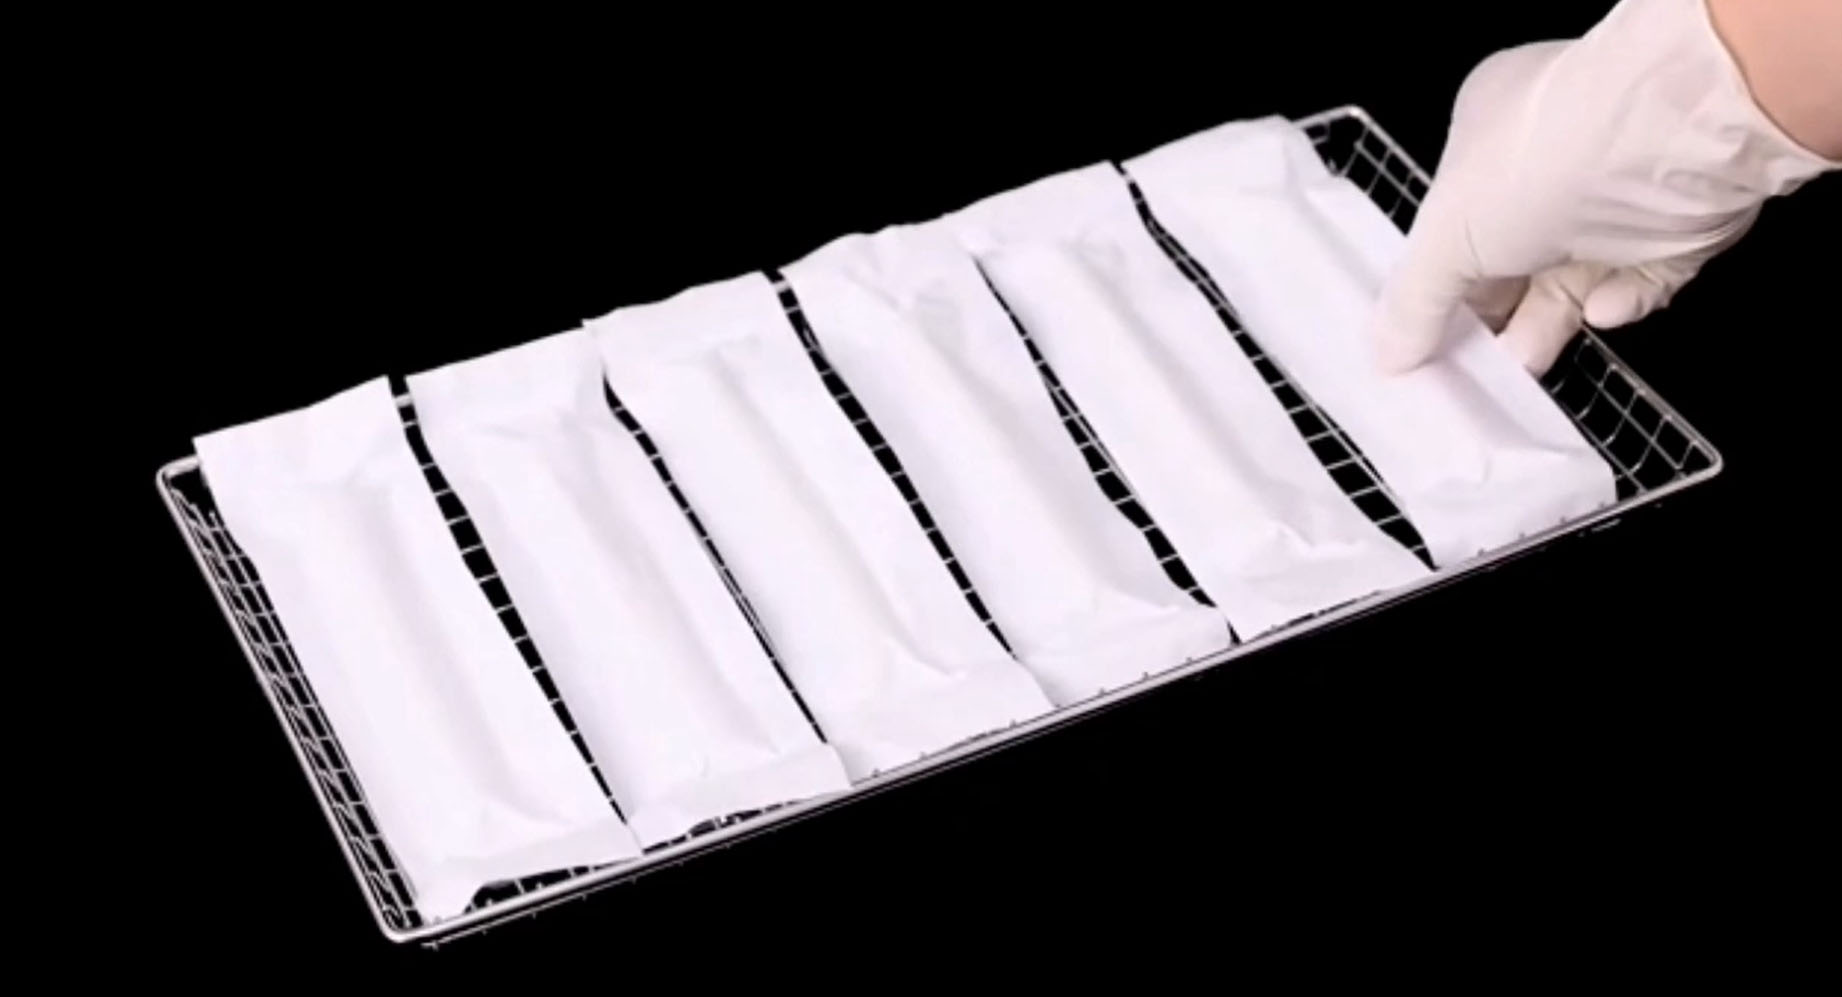
Use double-layered white cotton cloth for packaging; wash new cloths before use. Secure items with string, avoiding overly tight bundling. Choose containers that block microorganisms and allow steam penetration, like specialized syringe sterilization boxes or dressing storage trays. Avoid civilian aluminum boxes, as they hinder steam penetration and increase contamination risk.
STEP3: Disinfected items should be placed appropriately
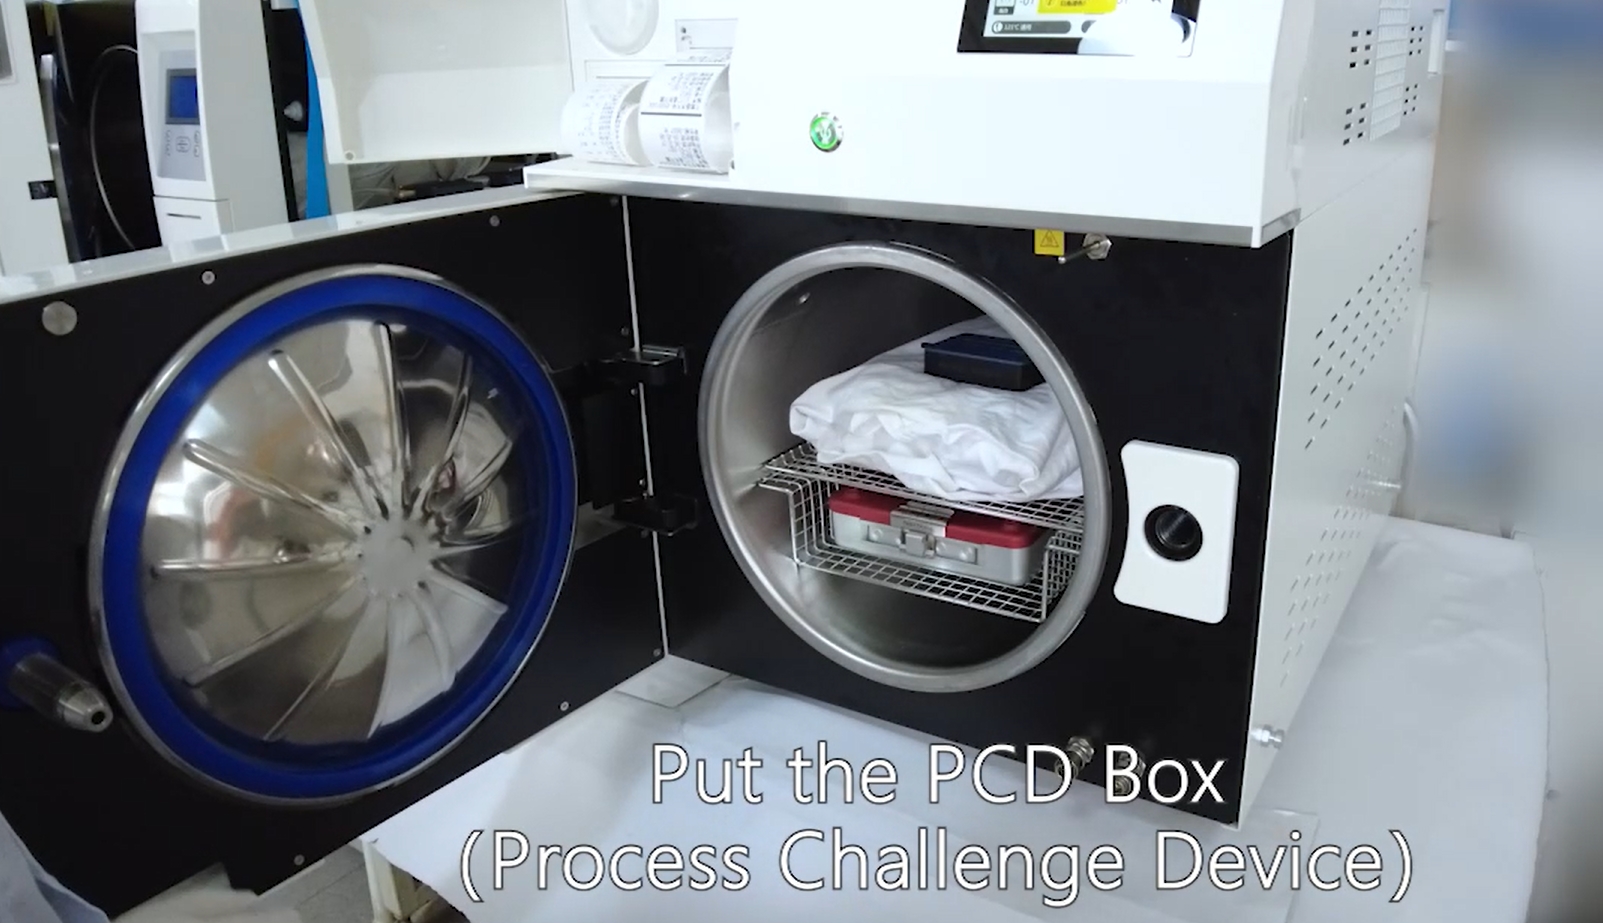
Ensure items in the sterilizer are not overcrowded and do not exceed capacity. Group similar items together. If mixing item types, base sterilization time and temperature on the most difficult item to sterilize. Arrange items with space between them for better steam penetration. Place large packages upright on the upper layer and small packages on the lower layer. Position metal items below cloth items to prevent condensation.
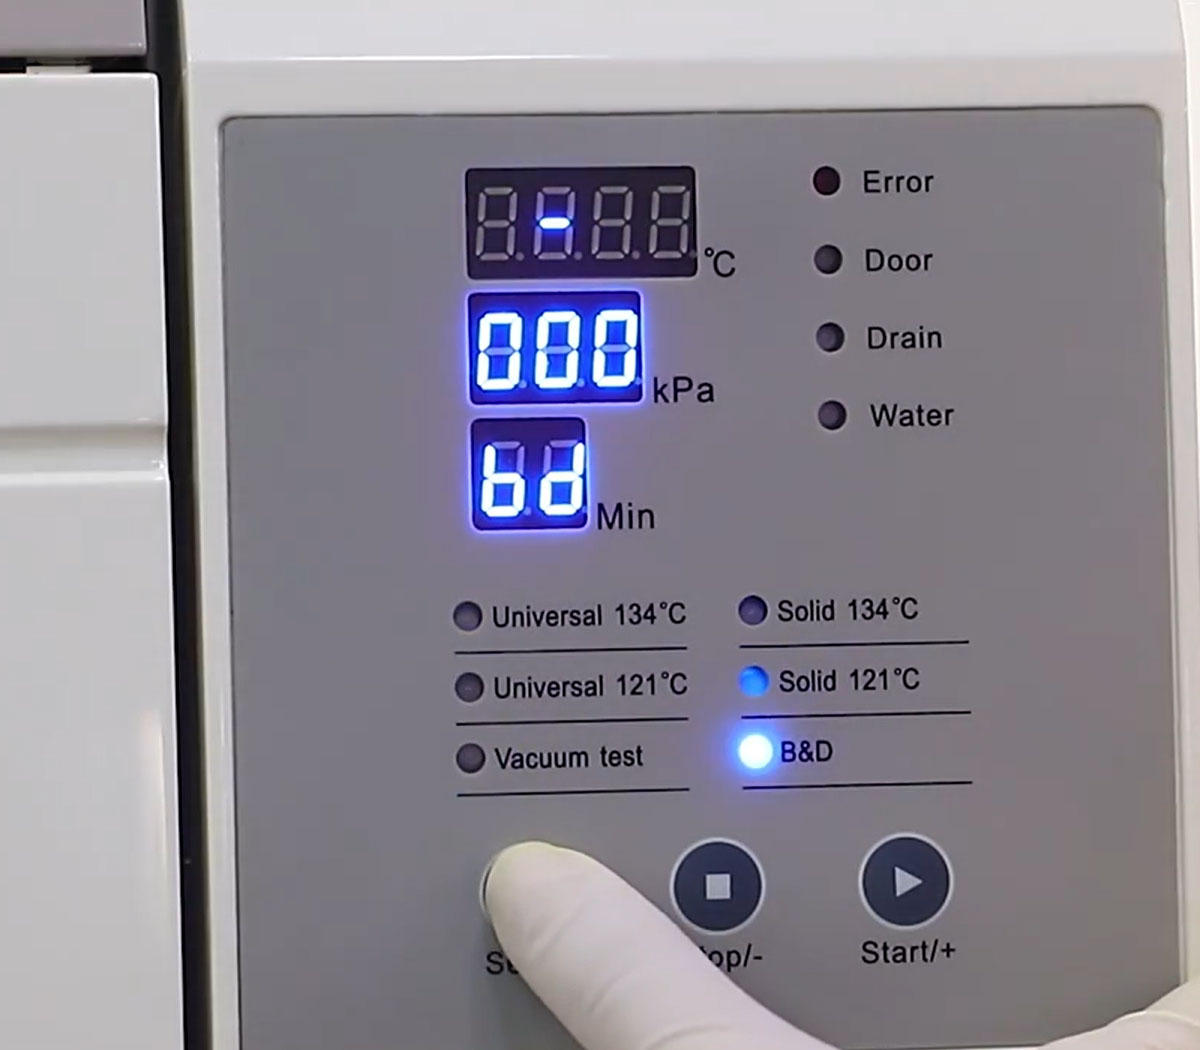
STEP4: Calculate sterilization time appropriately
Sterilization time includes:
- Penetration time: The time from when the sterilizer reaches the sterilization temperature until the hardest-to-reach part of the load also reaches this temperature.
- Holding time: The time required to kill microorganisms, typically based on the time needed to kill Bacillus stearothermophilus spores.
- Safety time: Additional time added to ensure thorough sterilization, usually half of the thermal death time, which varies depending on the item being sterilized. Safety time is not necessary for easily heat-conductive metal instruments.
During the sterilization process, monitor the pressure gauge and adjust the steam input to maintain the required pressure throughout the holding time. If there is a drop in pressure or temperature during sterilization, reheat and repressurize, then restart the timing.
STEP5: Pay attention to safety:
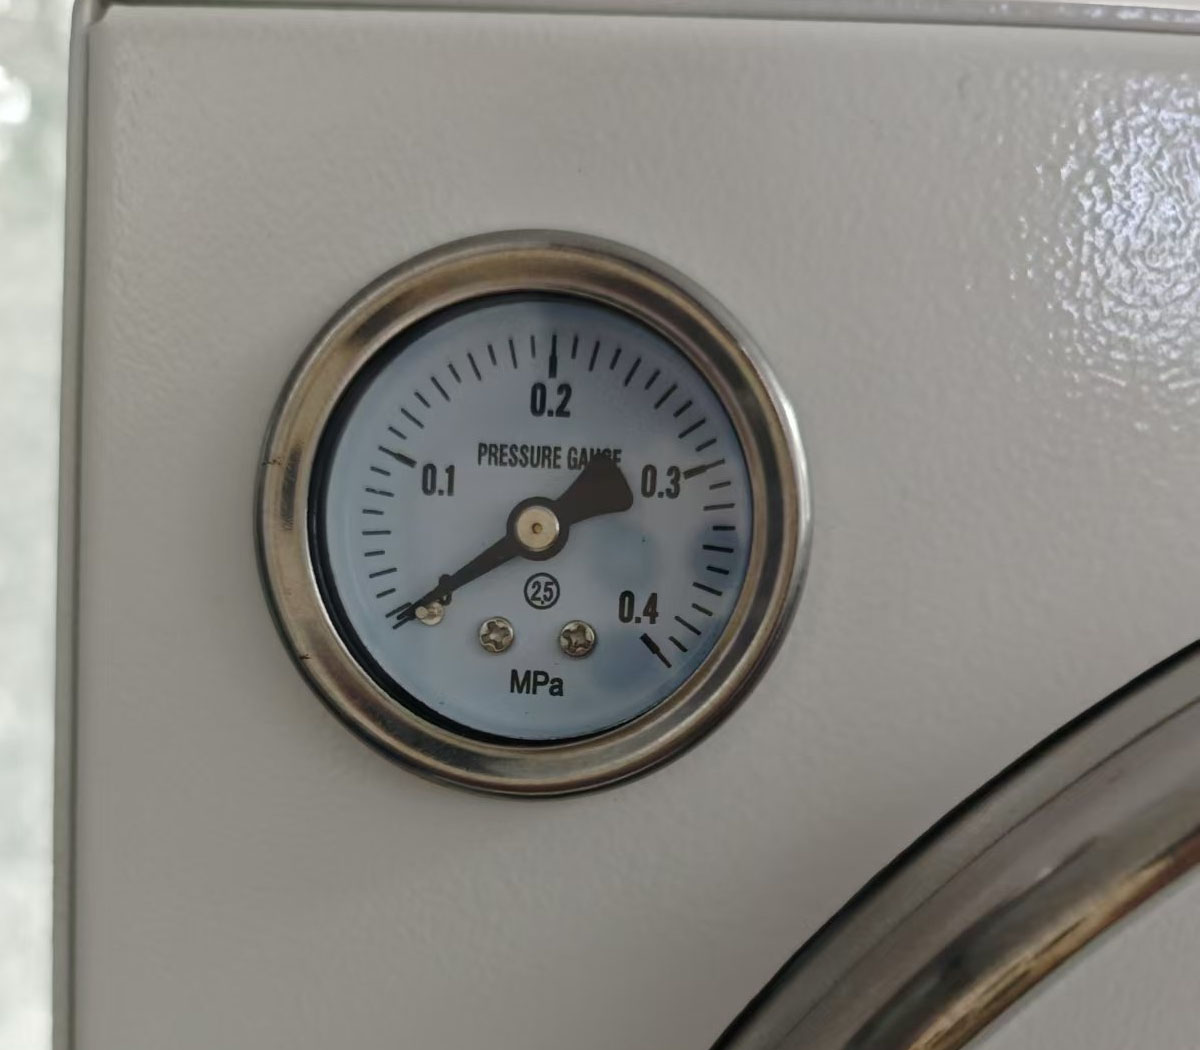
Before each sterilization, check that the sterilizer is in good working condition, especially the safety valve. Do not reduce pressure too quickly after sterilization. Wait until the pressure gauge returns to ‘0’ before opening the door.
If the sterilizer contains bottled solutions, sudden exposure to cold air upon opening can cause glass to crack. Additionally, opening the door too widely can allow a large influx of cold air, causing steam around the packages to condense into water droplets, which may block the package openings and hinder steam release, leading to dampness of the items.