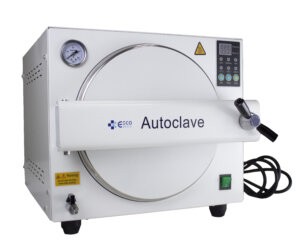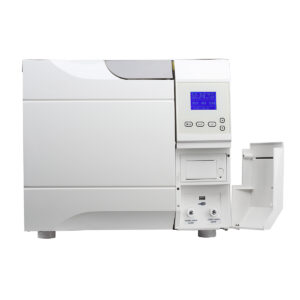
ESCO Autoclave Troubleshooting Guide: When sudden malfunctions or errors occur (common in labs, clinics, or urgent sterilization scenarios), this guide offers immediate solutions. It targets heating failures, startup issues, pressure fluctuations, and more to help you quickly resolve problems and minimize operational downtime.
1. Dealing with a Clogged Drain
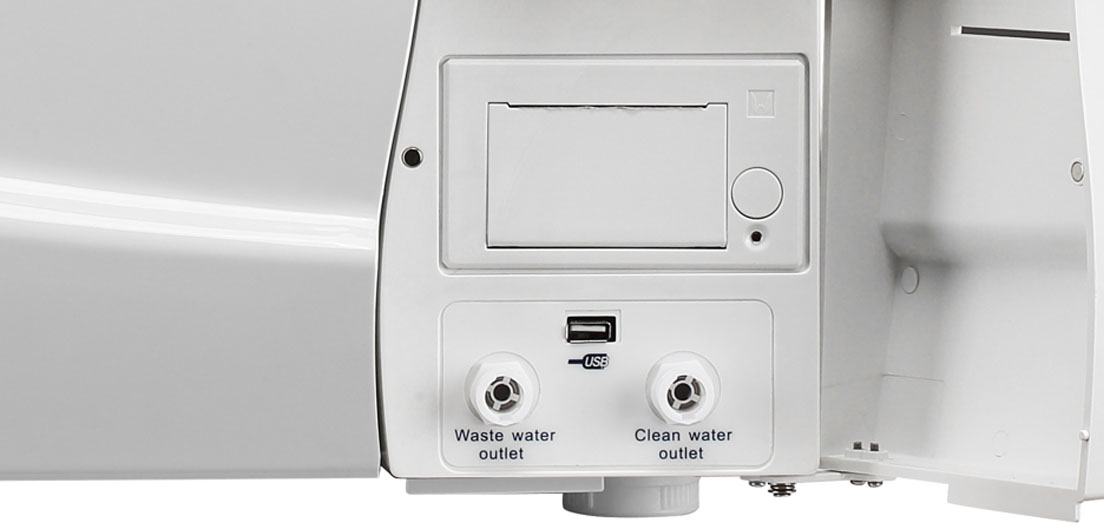
Problem: The drain isn’t letting water out, likely blocked by debris (like bits of glass, paper, or other stuff).
What to Try:
- First, try opening the drain valve. Then, grab an ear bulb (the kind for cleaning ears) or a syringe. Try to blow a puff of air into the drain line from the outside. Sometimes, this is enough to push out whatever is blocking it.
- If you think an agar spill caused the clog, it’s a bit different. You’ll need to run the sterilizer until it reaches 100°C, then stop the cycle. Make absolutely sure the pressure gauge reads 0 MPa before you carefully open the drain valve. Be cautious – things will be hot, so watch out for potential burns.
- Still Stuck? If neither of these methods works, it’s best to stop. Trying to force it might not be a good idea. It’s time to contact ESCO service engineer—or refer back to this autoclave troubleshooting guide for further direction.
2. Autoclave Stops Mid-Cycle
Problem: The machine suddenly stops during a sterilization cycle and shows an error.
Likely Cause: Often, this happens because the water level in the chamber got too low, triggering a safety cutoff.
Solution:
- Check the water level. Add more sterilizing water until it reaches the indicator mark. Then, simply restart the sterilization program.
- If it was a power outage: If the power cut out unexpectedly, you’ll just need to restart the sterilization cycle once power is restored. For more help, consult an autoclave troubleshooting guide like this one to ensure safe operation.
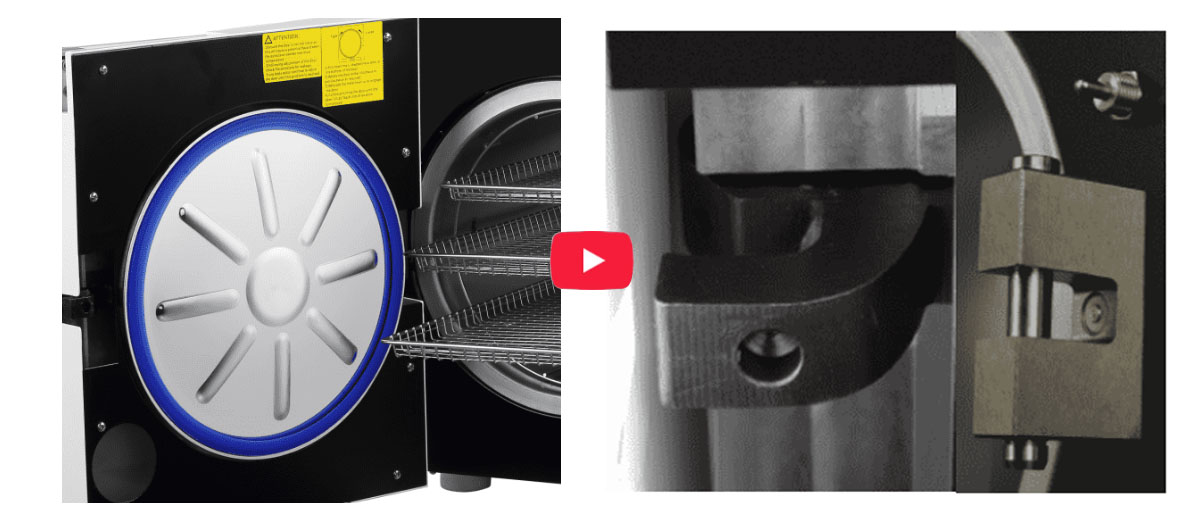
3. Autoclave Won’t Start Up
Problem: You try to start a cycle, but nothing happens.
Check This First: The autoclave has a lid safety feature. If the lid isn’t closed and latched properly, it won’t start. Double-check that the lid is securely fastened, then try starting the program again.
4. Heating Issues
Problem: The autoclave starts, but it’s not heating up, or it can’t reach the target temperature (like 121°C). You’re sure there are no leaks, and maybe it even trips a breaker when you try to start a cycle.
Likely Cause: This sounds like a problem with the heating element.
Action: Don’t keep trying to run it. Contact a qualified service engineer right away to check it out and perform any needed repairs. This autoclave troubleshooting guide is a great first step before calling in professional help.
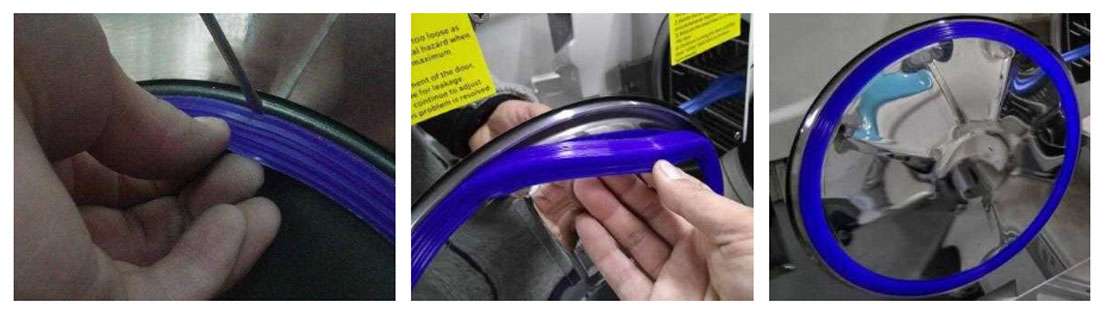
5. Gasket May Need Replacing:
- You Can See Damage: Look closely at the gasket. Are there visible cracks, nicks, or does it look stretched, flattened, or warped? Being under constant heat and pressure eventually takes a toll.
- Pressure Isn’t Stable: During a cycle, do you notice the pressure gauge fluctuating or having trouble staying steady? A worn gasket might be struggling to maintain the seal.
- Steam is Escaping: Can you hear a “hissing” sound or see steam leaking out from around the door while it’s running? That’s a definite sign the seal is broken.
- Sterilization Results Aren’t Right: Even if the cycle completes as programmed, if your sterilization isn’t effective (e.g., biological indicators still show growth), a failing gasket could be the reason.
- It’s Simply Old: Gaskets don’t last forever. It’s good practice to inspect it regularly. If it looks worn, feels brittle, or has been in service for a long time (check the manufacturer’s advice on lifespan), replacing it is a smart move.
How to Make Your Gasket Last Longer:
- Keep It Clean: Wipe down the gasket regularly to prevent dirt and residue buildup. A clean surface seals better.
- Quick Tip: Check it before each use, and give it a proper cleaning about once a week.
- Avoid Friction (Especially on Manual Models): If you have an autoclave with a hand-wheel to close the lid, make sure you unscrew it all the way to the top stop before swinging the lid open. This lifts the gasket clear off the chamber rim and prevents rubbing, which wears it out.
- Don’t Overwork the Machine: Always follow the operating instructions. Running the autoclave overloaded or for excessively long periods puts extra stress on all parts, including the gasket.
Quick Notes on Replacing the Gasket:
- Use the Right Part: Make sure you get the correct replacement gasket for your specific autoclave model. Using an official part from the manufacturer is usually best to ensure a proper fit and material.
- Install It Carefully: When putting the new gasket in, make sure it’s seated evenly in its groove, without being twisted or pinched.
Test After Replacing: Run a test cycle after installing a new gasket to confirm that it’s sealing correctly and there are no leaks. - Bottom Line: That gasket might be small, but it’s vital for good sterilization results and safe operation. Keeping an eye on it and replacing it when needed will help keep your autoclave working at its best.