Why Is Sterilizing Dental Instruments Essential?
Sterilization in dentistry goes beyond simple cleaning—it eliminates all microorganisms, including bacteria, viruses, and spores. This process protects both patients and dental staff, preventing infections and maintaining a sterile clinical environment.
Dental professionals have always prioritized stringent sterilization protocols to prevent cross-contamination and ensure patient safety. The U.S. Centers for Disease Control and Prevention (CDC) and the American Dental Association (ADA) provide strict guidelines for dental sterilization tech, ensuring that every instrument used is free from harmful pathogens.
This guide explains in detail how to sterilize dental instruments.
How To Sterilize Dental Instruments? A Step-by-Step Process
Step 1. Pre-Cleaning: The First Line of Defense
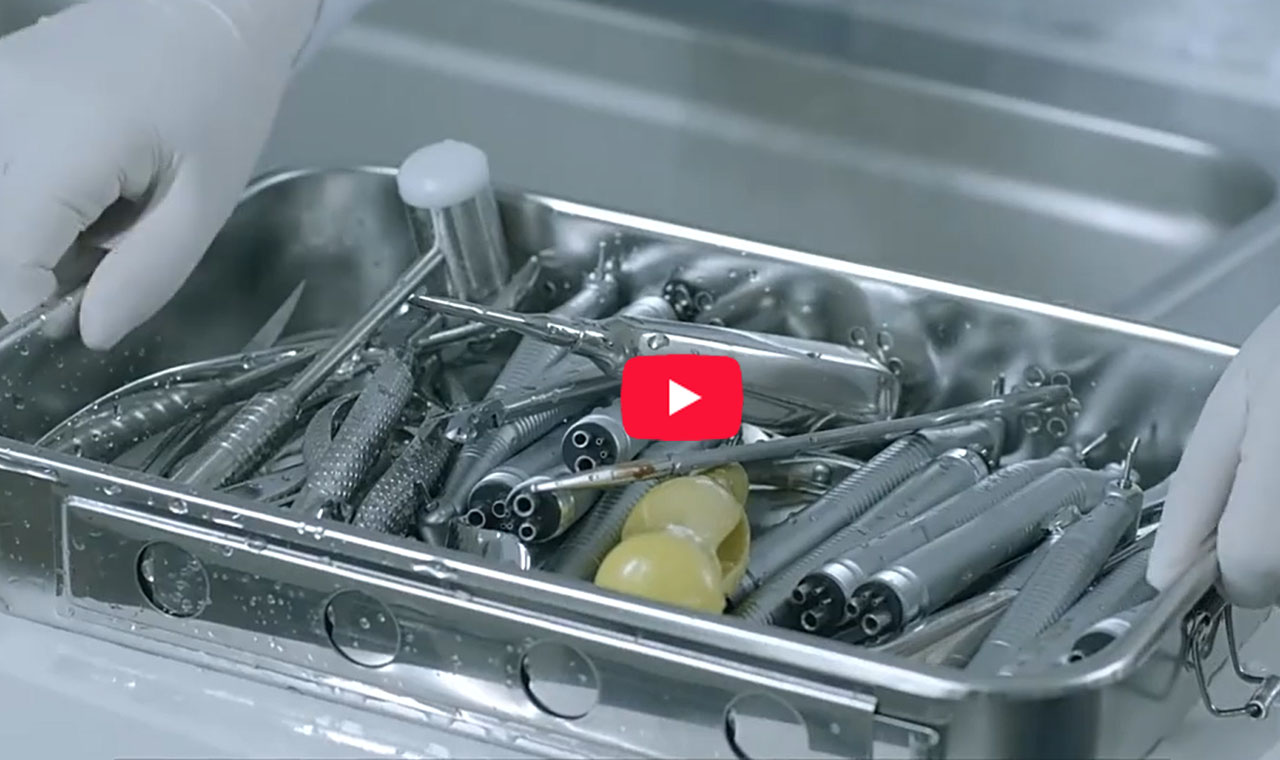
Before sterilization, all dental tool sterilization begins with thorough cleaning. Instruments must be free of organic debris (blood, saliva, tissue) to ensure effective sterilization. Common cleaning methods include:
- Manual Scrubbing – Using enzymatic cleaners and brushes to remove debris.
- Ultrasonic Cleaning – High-frequency sound waves dislodge contaminants from hard-to-reach areas.Ultrasonic cleaning machine
- Automated Washers – These devices use high-pressure water jets and detergents for efficient cleaning.
Routinely we recommend ultrasonic cleaners and special cleaning and disinfecting machines, after cleaning all instruments should be rinsed and dried.
Step 2.Loading Items Requiring Sterilization
Requiring sterilization include:
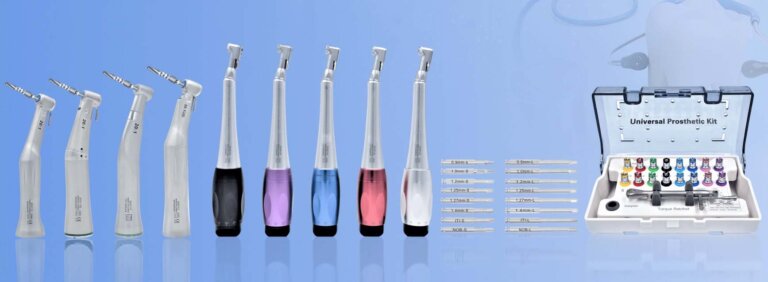
Reusable surgical instruments (such as probes, extraction forceps, tweezers, etc.) High-speed/low-speed handpieces and their accessories Root canal instruments (such as endodontic files) Dental drills and lathe needles Metal heads of spit suction tubes Dental implantation tools, etc.
Loading considerations:
- Sorting and placement, avoid overlapping: Instruments should be sorted and placed separately to avoid overlapping and interfering with steam penetration or heat distribution.
- Special treatment for hollow instruments: such as handpieces, special holders or connectors should be used to ensure that the cavity is accessible.
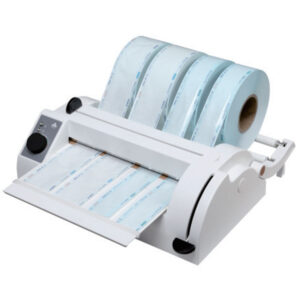
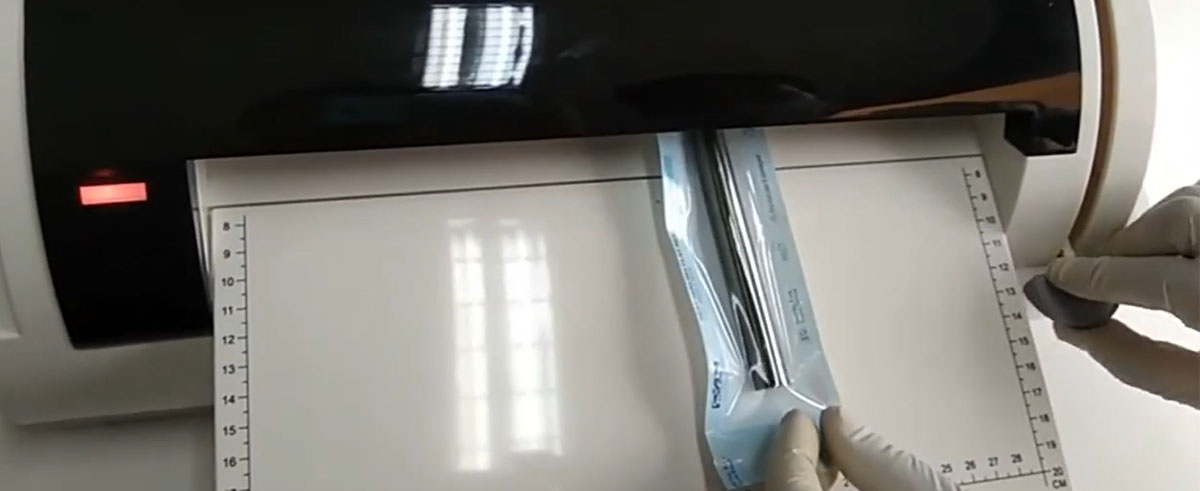
- Standardized Packaging: Use medical grade sterilization pouch/paper/cloth to wrap instruments, leaving enough space for steam circulation; seal sterilization bags tightly, but not too tightly.
- Avoid overloading: Avoid overfilling the sterilizer and ensure that steam or heat can circulate freely.
Step 3. Choosing the Right Sterilization Method
-
Pressure Steam Sterilization
-
Principle: Uses high-temperature, high-pressure saturated steam.
-
Application: Suitable for heat- and humidity-resistant instruments (e.g., dental handpieces, extraction forceps).
-
Advantages: Reliable, fast, strong penetration, minimal damage, eco-friendly, no harmful residues.
-
-
Dry Heat Sterilization
-
Principle: Sterilizes by heating and denaturing microbial proteins.
-
Application: Suitable for heat-resistant glass, metal, oils, and powders.
-
Advantages: Simple, no moisture residue, minimal corrosion.
-
Disadvantages: Long sterilization time, high temperature may damage sensitive instruments, weak penetration, not suitable for rubber/plastic.
-
-
Chemical Disinfectant Immersion
-
Principle: Disinfects using chemicals to denature microbial proteins and disrupt cell membranes.
-
Application: Suitable for heat-sensitive or delicate instruments (e.g., periodontal scalers, rubber/plastic instruments).
-
Advantages: Simple, less damaging to fine instruments.
-
Disadvantages: Long immersion time, potential health risks from disinfectants, requires thorough rinsing, may affect instrument integrity (e.g., rubber aging, rust).
-
-
Ethylene Oxide Sterilization
-
Principle: Alkylates proteins and nucleic acids in microbes, blocking their metabolism.
-
Application: Suitable for temperature-sensitive items like electronic and optical instruments.
-
Advantages: Effective against all microorganisms, strong penetration, minimal damage, no environmental pollution.
-
Disadvantages: Long sterilization time, complex equipment, safety risks (flammable/toxic gas), needs to eliminate residual ethylene oxide.
-
-
Hydrogen Peroxide Plasma Sterilization
-
Principle: Uses hydrogen peroxide plasma to generate free radicals that destroy microbial cells.
-
Application: Suitable for delicate, complex devices that cannot tolerate traditional methods.
-
Advantages: Low temperature, short cycle (1-2 hours), no harmful residues, strong penetration.
-
Disadvantages: Expensive equipment, requires thorough cleaning of instruments, potentially corrosive to metal, not suitable for instruments with moisture or oil.
-
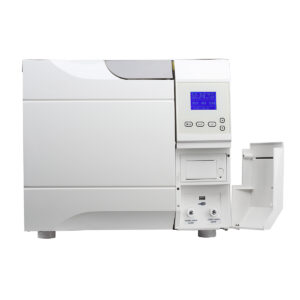
Autoclaves are the best choice for dental clinics in terms of sterilization time, staffing, and site management.
Step 4.Selecting the appropriate sterilization procedure
Commonly used sterilization methods:
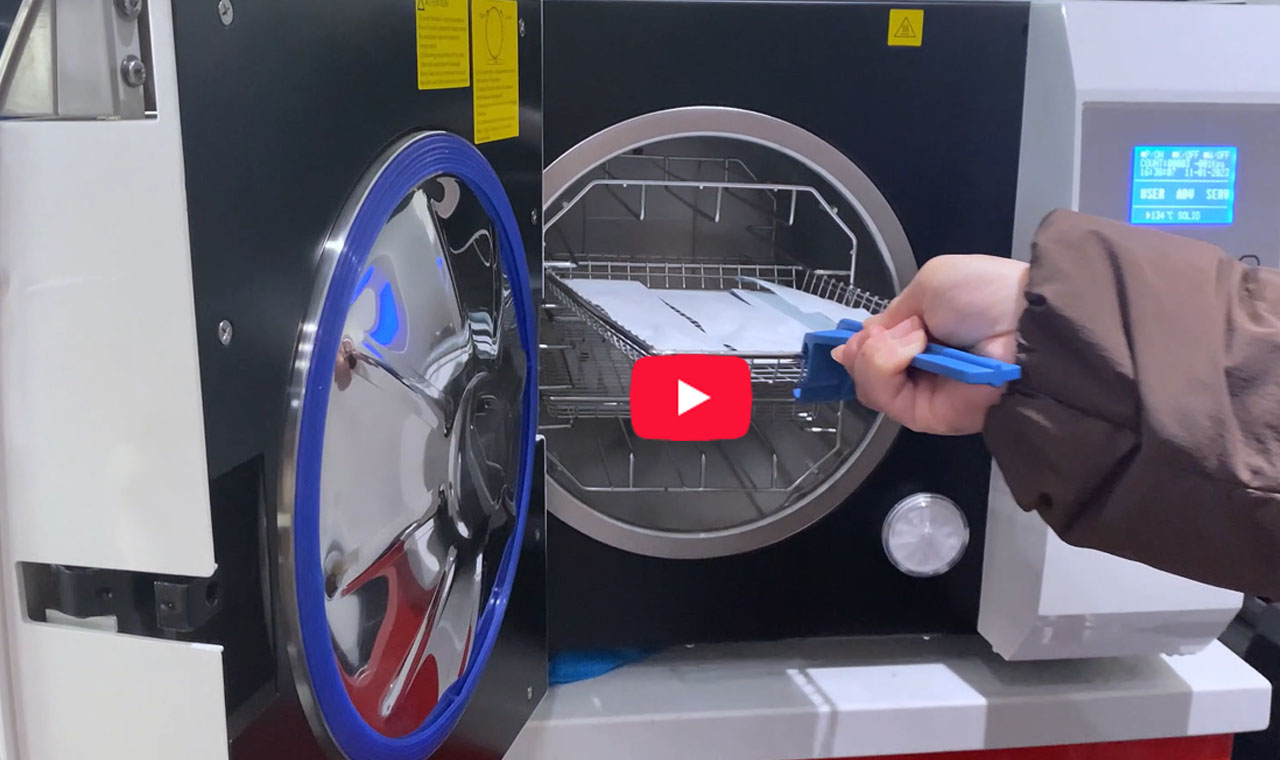
✅ Steam sterilization (autoclave/Autoclave) – the most commonly used and effective:
- Standard procedure (134°C, 3~5 minutes): suitable for most heat-resistant instruments.
- Heavy duty procedure (134°C, 18 minutes): suitable for cavity-containing instruments or heavy loads.
- Low temperature program (121°C, 15-30 minutes): suitable for temperature sensitive instruments that can still tolerate 121°C.
Special cases are available:
- Chemical gas sterilization (e.g., ethylene oxide): for heat-sensitive instruments that require longer cycles and good ventilation.
- Low-temperature plasma sterilization: for delicate and heat-sensitive instruments, such as some implant surgical tools.
How to choose a procedure:
- Check the instrument manual for recommendations on sterilization methods.
- Select the appropriate procedure based on the material, construction (hollow or not), and heat resistance of the instrument.
- For luminal or multi-jointed instruments, prioritize programs for heavy-duty or deep luminal instruments.
Step 5. Monitoring Sterilization Effectiveness
To ensure dental sterilization tech is working correctly, dental practices use:
- Biological Indicators – Spore tests confirm sterilization success.
- Chemical Indicators – Strips change color when exposed to heat.
- Mechanical Checks – Monitoring time, temperature, and pressure.
Step 6. Sterilized Instrument Storage

After dental instruments have been sterilized, proper storage is important to maintain the sterility of the instruments and to prevent cross-contamination. Here are some common storage requirements:
-
Keep it Closed: Store sterilized instruments in sealed bags or containers (e.g., medical sterilization bags, sterile paper bags, sterilization boxes) to prevent contamination.
-
Dry Storage: Instruments must be kept dry to avoid bacterial growth. Store them in a dry, well-ventilated area.
-
Avoid Air Contact: Store instruments in closed cabinets or containers to prevent exposure to airborne germs.
-
Separate Storage: Keep sterilized instruments separate from unsterilized ones to prevent cross-contamination.
-
Optimal Temperature: Maintain a stable storage temperature to protect the instruments and preserve the sterilization effect.
-
Regular Inspection: Check packaging regularly for damage or expiration, and replace if necessary to maintain sterility.
-
Clean Storage Area: Store instruments in a dedicated, clean, and sanitized space to avoid contamination risks.
Best Practices for Maintaining Sterile Dental Tools
- Regular Maintenance of Sterilization Equipment – Service and calibrate autoclaves.
- Proper Storage of Sterilized Instruments – Sealed pouches should be stored in clean, dry cabinets.
- Single-Use Disposable Items – Whenever possible, disposable tools minimize infection risks.
- Staff Training on Sterilization Protocols – Continuous education ensures compliance with CDC and ADA guidelines.
Ensuring Safe Dental Care Through Proper Sterilization
Understanding how to sterilize dental instruments is crucial for any dental practice committed to patient safety. By using advanced dental sterilization autoclave technology and adhering to strict protocols, dental professionals can prevent infections and provide high-quality care.
Whether you’re a dentist, hygienist, or patient, knowing the steps behind dental tool sterilization ensures confidence in the cleanliness and safety of dental treatments. Always choose clinics that prioritize sterilization dental best practices—your health depends on it.
For more insights on infection control in dentistry, stay updated with the latest dental sterilization tech advancements and industry guidelines.